Homemade Solar Still - Part 1
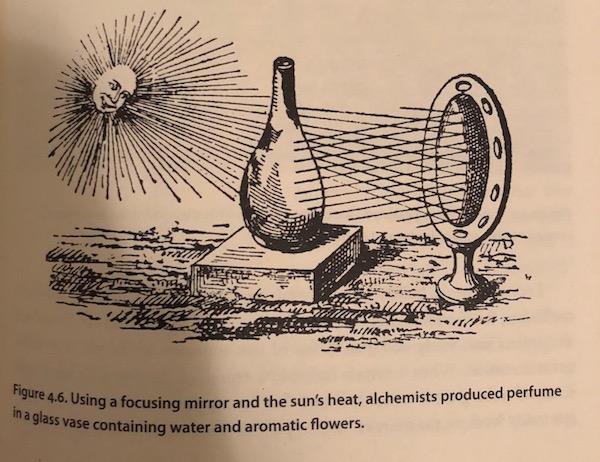
I first became interested in building a solar still after reading John Perlin’s excellent book Let It Shine: The 6,000-Year Story of Solar Energy (the above image can be found on page 45 of the book). It’s a really amazing book, starting with solar homes in ancient China and going all the way to the invention of silicon solar cells.
There’s a great story in the book about Mària Telkes and the solar still/desalination unit she invented for downed airline pilots, stories about early attempts at solar power plants in the US (I had no idea this ever happened), and stories about people who had grand visions for solar products and the problems they ran into (energy storage, financing, cheaper fuel alternatives, etc.). Perlin has a great quote from Giambattista della Porta who said: “It is good husbandry, to rely on solar energy when ever possible, for the work is done without wood, or coals, or labor”. Interestingly enough, della Porta also imagined a gigantic solar mirror for setting enemy ships and gates on fire.
The solar still seemed like an accessible entry point for building a simple solar tool. My intended use for the still reflects the use in the picture, to distill a perfume (which I will write about in Part 2). From the same page, Perlin paraphrases Adam Lonicer’s instructions from 1561 on how this was done: “Certain types of flowers were submerged in a clear, water-filled vase, which was placed at the focal point of a spherical concave mirror. The concentrated solar heat caused the aromas of the flowers to diffuse into the water, and voilà, you had perfume”.
Original Guide
The guide I followed and will be walking through with my experience is this great article on instructables from several years ago.
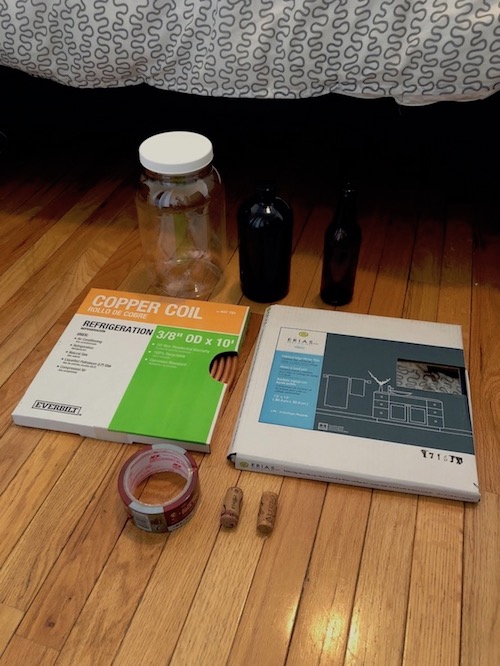
Materials 🌞
-
1 gallon plastic/glass jar. I used this plastic jar, but if I started today would use this glass one as I’m trying to use less plastic. Both lids are plastic for cutting a circular hole in the top, I’d be interested to see a solution that avoids plastic altogether 🤔
-
1 insulating jar. I used this growler
-
1 glass collector. I used a regular 12 oz beer bottle (after drinking I washed and removed the label). Other small bottles with a cork sized mouth would work too
-
3/8” copper coil cut into a 24” - 32” length. I found this at my local Home Depot which had to be cut
-
3 square foot mirrors. I found mine at a local hardware store
-
Wood/cardboard backing for the mirrors + duct tape or other adhesive for mounting
-
2 corks. Mine were used, though the original guide mentions finding corks with pre-made holes at a wine-brewer hobby shop. I think these could be an online equivalent but I did not go that route
Steps
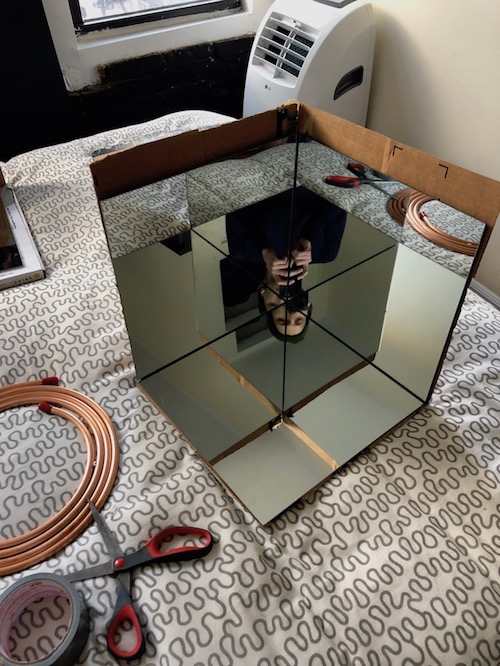
I started taping the square foot mirrors together along their edges and mounting them to my backing surface (cardboard in my case). I used the leftover cardboard from an Amazon order, but as the other guide mentions a sturdier setup can be achieved with a wood backing. The mirror component’s job is concentrating the sunlight onto the clear outer jar which contains the inner bottle with the distillation mixture.
The next step was cutting a circular hole in the outer jar’s lid for the opening of the inner bottle. This clear jar acts as a solar heat trap, letting in sunlight and trapping the energy it accumulates (like a mini-greenhouse) in order heat the inner bottle and cause the mixture to evaporate upward through the copper tubing (wiki - distillation). I cut the hole out using an X-Acto knife which was a little imperfect, there is probably a better way.

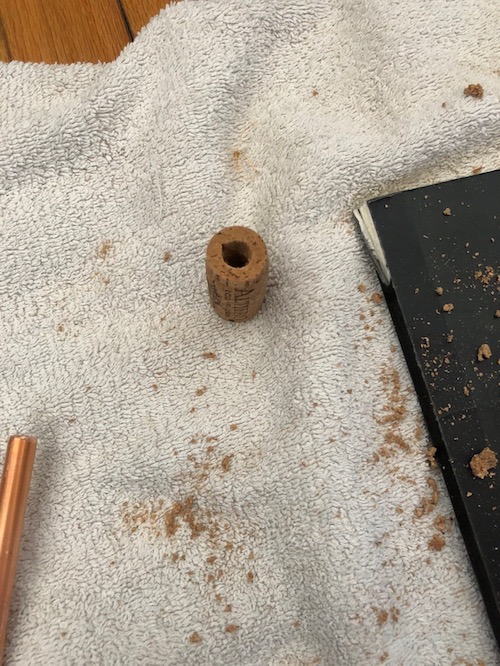
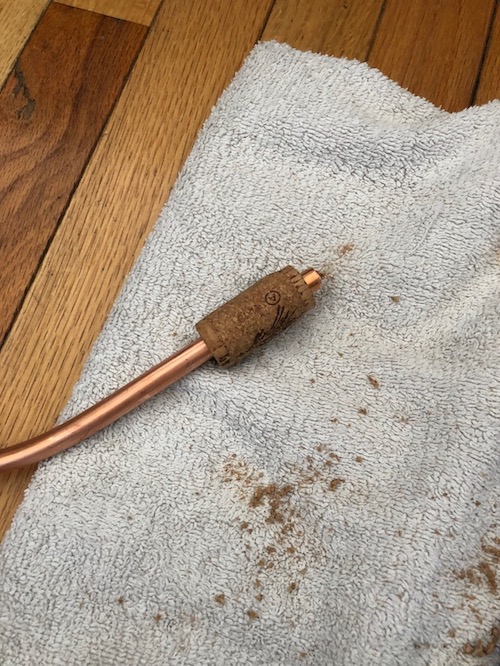
Next I took the two corks and proceeded to open 3/8” holes through each for the copper coil to go through. I started by using my drill that didn’t have a large enough drill bit, but I used to start the hole through the cork. I would then use the copper pipe, twisting it back and forth to widen the hole, then switch back and forth between drill/pipe until I made it through. If you have a 3/8” drill bit or opted for corks with pre-made holes go right ahead and ignore this step.
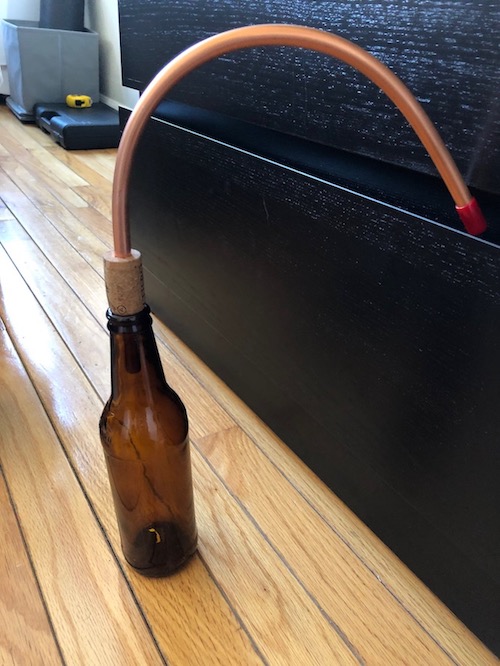
Here’s the copper pipe connected to the collector bottle (where the distilled liquid will end up after the vapor cools and returns to liquid form). In the original guide the author mentions “conditioning” the copper piping if you’re going to use this to distill something drinkable. This involves running a mixture of white vinegar and water through the pipe. Notice how short the length of copper looks here - this piece was cut to 16” like in the guide I followed, which is why I’m recommending a length of 24” - 32” as 16” was too short.

Here’s the still ready to go out on the fire escape. This picture was taken closer to noon when there wasn’t much direct sunlight, but at 3PM pointed southwest in January it looked like this baby would be getting plenty of sunlight (We’ll see how the actual distilling goes in the next post).